# SpringBoot 启动流程分析
<span alt='solid'> 查看启动流程分析图 </span>.
嫌图小可以去浏览器上看会大一点清晰一点但是,需要翻墙观看或者开启 Github 加速器
https://raw.githubusercontent.com/PigPigLetsGo/imeages/master/202309132014257.png

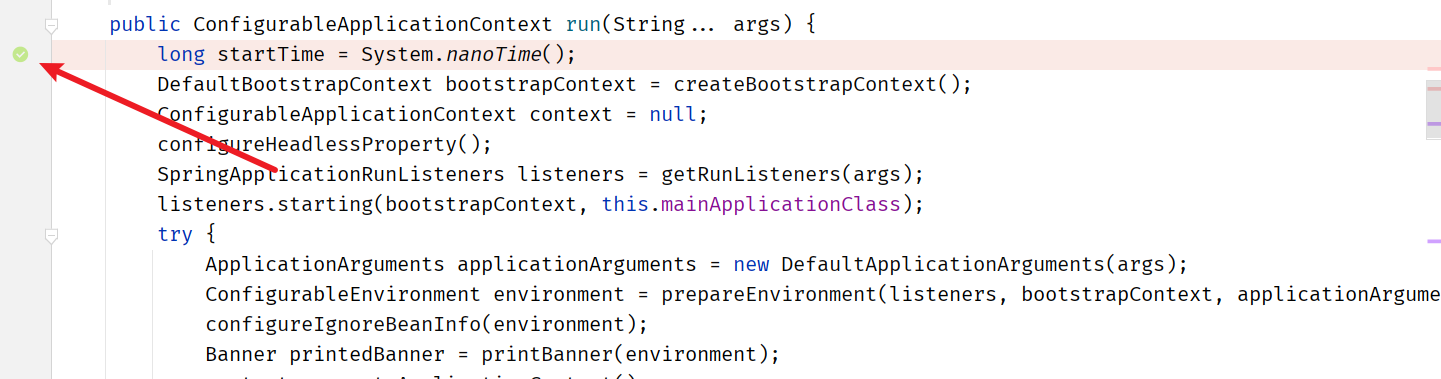
点断后进行 Debug SpringBoot 启动类
![image-20230913202702156]()
接着下一步
![image-20230913202948071]()
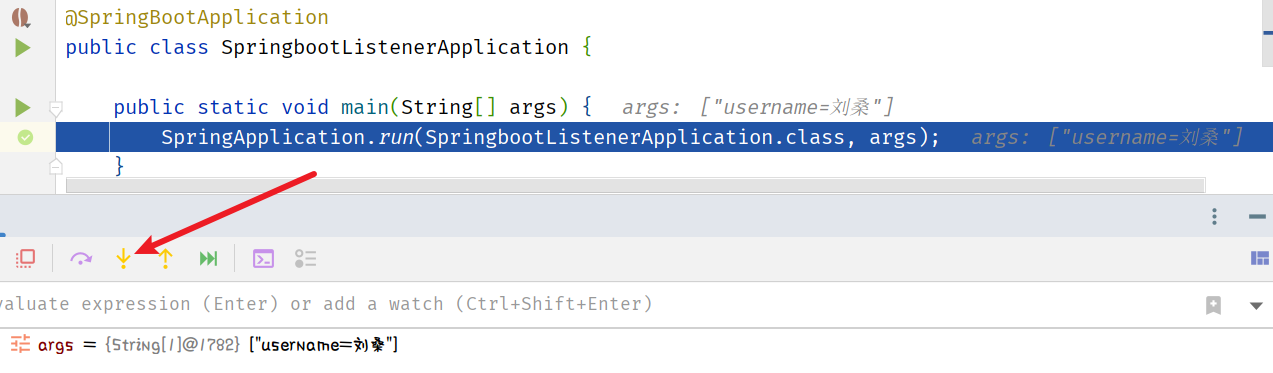
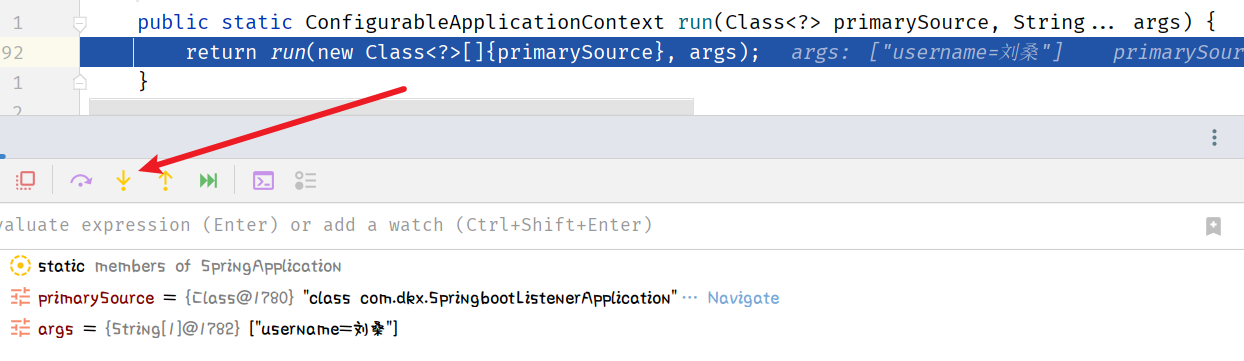
new new SpringApplication (primarySources).run (args) 我们有一点点的印象
![image-20230913213007472]()
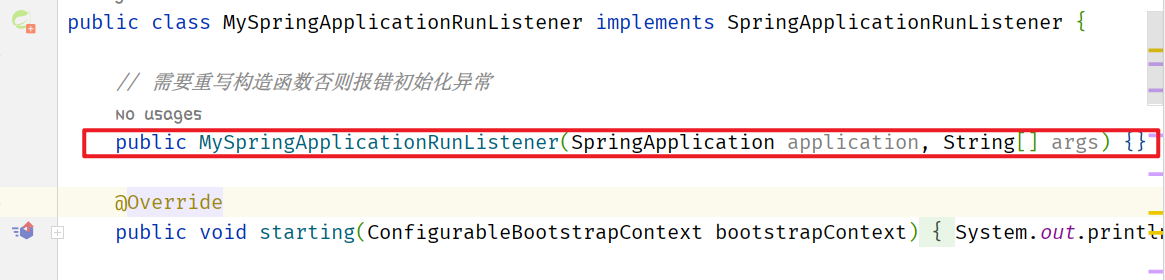
MySpringApplicationRunListener
![image-20230913213318452]()
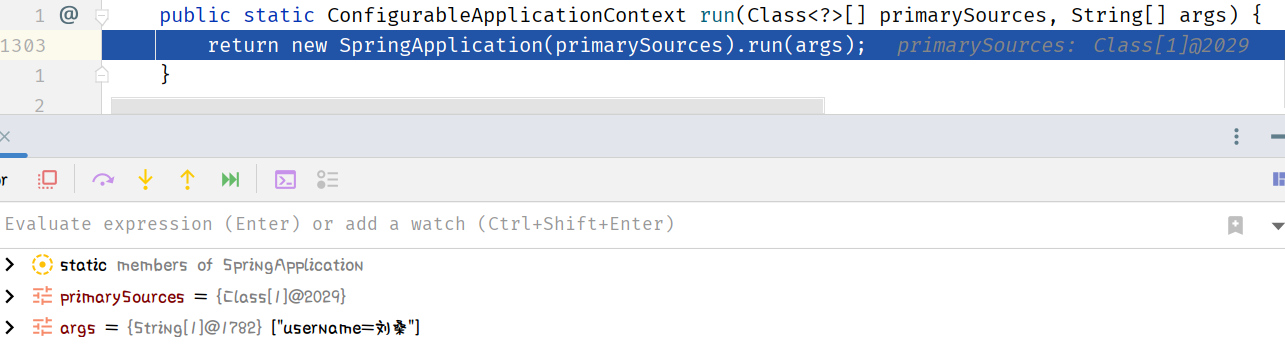
new new SpringApplication (primarySources).run (args) 这个对象就是事件源对象,将来的所有事件都是在这个对象上产生的
而这个对象有两个部分要说:
第一部分:构造这个对象初始化的过程
第二部分:执行 run 方法的过程
先来看构造初始化的过程
点击 SpringApplication 转到构造器再点击 this 转到真正执行的构造器中,添加断点进行查看
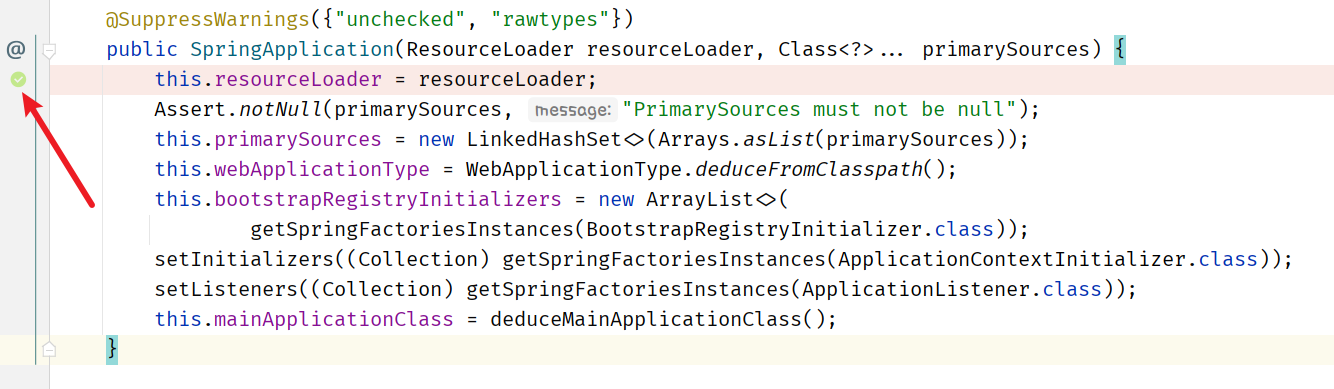
当前的 debug 在 new new SpringApplication (primarySources).run (args) 中,我们点击 ResumeProgram 跳转到下一个断点处,也就是我们在构造函数新添加的这一个断点处。

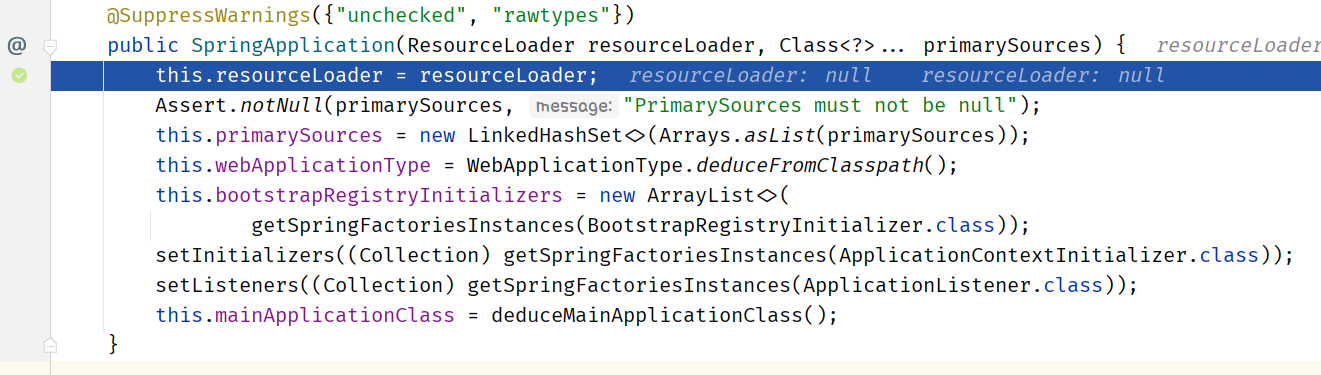
@SuppressWarnings({ "unchecked", "rawtypes" }) | |
public SpringApplication(ResourceLoader resourceLoader, Class<?>... primarySources) { | |
this.resourceLoader = resourceLoader; | |
//primarySources 传递过来的启动类 / 引导类 | |
Assert.notNull(primarySources, "PrimarySources must not be null"); | |
this.primarySources = new LinkedHashSet<>(Arrays.asList(primarySources)); | |
// 判断是否是 web 的环境 | |
this.webApplicationType = WebApplicationType.deduceFromClasspath(); | |
// 设置初始化的 Initializers | |
this.bootstrapRegistryInitializers = new ArrayList<>( | |
getSpringFactoriesInstances(BootstrapRegistryInitializer.class)); | |
setInitializers((Collection) getSpringFactoriesInstances(ApplicationContextInitializer.class)); | |
setListeners((Collection) getSpringFactoriesInstances(ApplicationListener.class)); | |
this.mainApplicationClass = deduceMainApplicationClass(); | |
} |
执行完毕之后就回到了 new new SpringApplication (primarySources).run (args) 中我们点进 run 里面然后打上断点