# @Eable * 注解
SpringBoot 中提供了很多 Enable 开头的注解,这些注解都是用于动态启用某些功能的。而其底层原理是使用 @Import 注解导入一些配置类,实现 Bean 的动态加载。
<span alt='solid'> 思考 </span>:
SpringBoot 工程是否可以直接获取 jar 包中定义的 Bean?
答案:不可以
如果不可以这个地方问题就非常严重了。比如说 redisTemplate 获取,是不是人家 jar 包里面定义的 Bean 啊。那为什么我的工程引入了 redis 的起步依赖我就直接可以获取到了呢 ?
首先演示不能获取第三方 jar 包里面定义的 Bean 的特点:
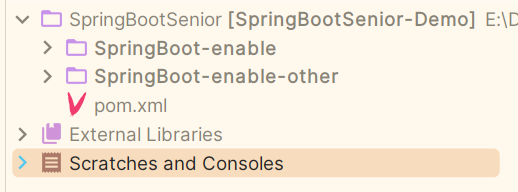
创建一个父模块,两个同级子模块
将 enable-other 模块导入到 enable 模块中使用
<dependency> | |
<groupId>com.dkx</groupId> | |
<artifactId>SpringBoot-enable-other</artifactId> | |
<version>0.0.1-SNAPSHOT</version> | |
</dependency> |
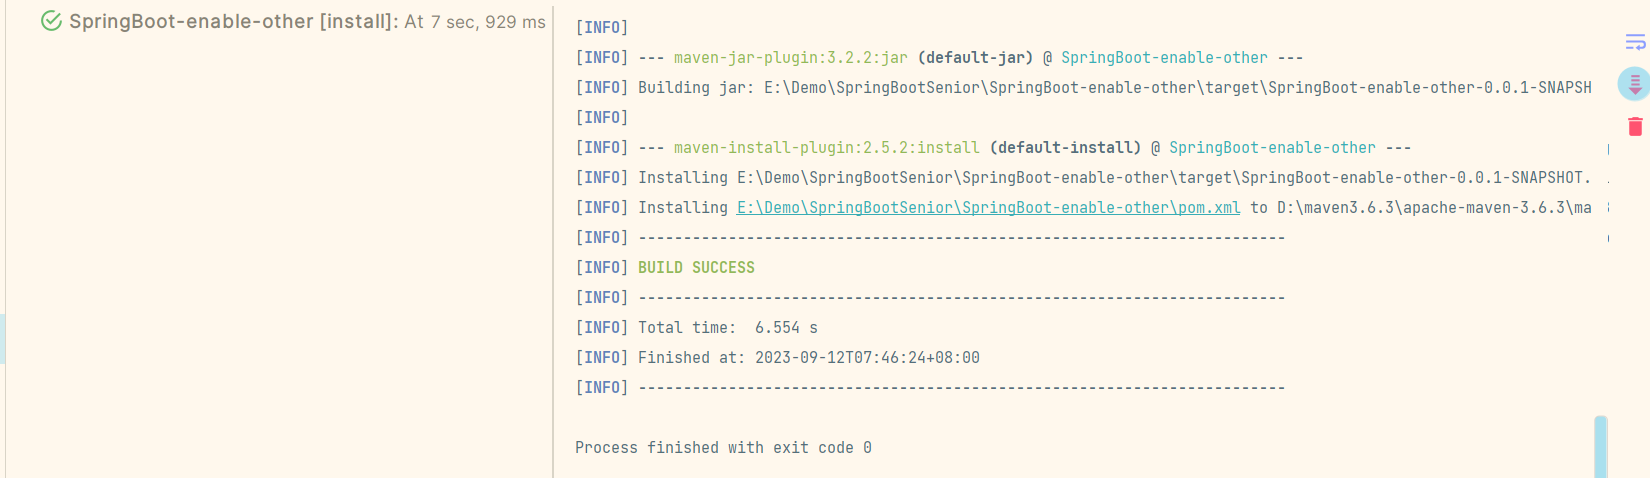
install,enable-other 模块否则报错找不到 XXX 类
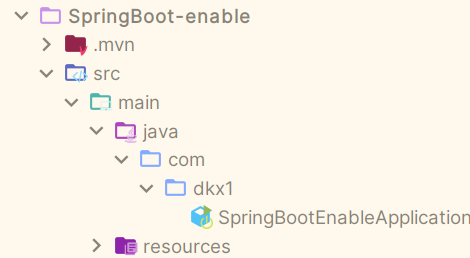
编写 enable 模块
import org.springframework.boot.SpringApplication; | |
import org.springframework.boot.autoconfigure.SpringBootApplication; | |
import org.springframework.context.ConfigurableApplicationContext; | |
// @ComponentScan 扫描范围:当前引导类所在包及其子包 | |
// com/dkx1 | |
// com/dkx | |
// 1. 使用 @ComponentScan 扫描,com.dkx. 包 | |
// 2. 可以使用 @Impoert 注解,加载类 | |
@SpringBootApplication | |
public class SpringBootEnableApplication { | |
public static void main(String[] args) { | |
ConfigurableApplicationContext run = SpringApplication.run(SpringBootEnableApplication.class, args); | |
Object user = run.getBean("user"); | |
System.out.println(user); | |
} | |
} |
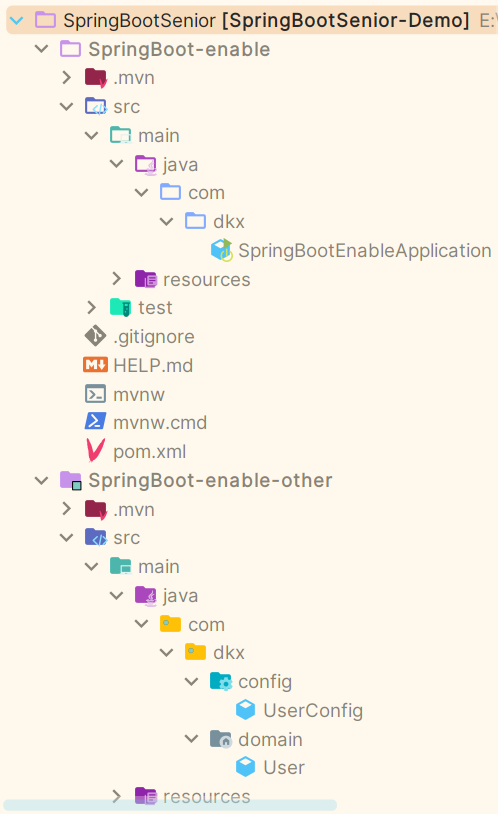
项目结构:
编写 enable-other 模块
config/UserConfig
@Configuration | |
public class UserConfig { | |
@Bean | |
public User user() { | |
return new User(); | |
} | |
} |
domain / User
public class User { } |
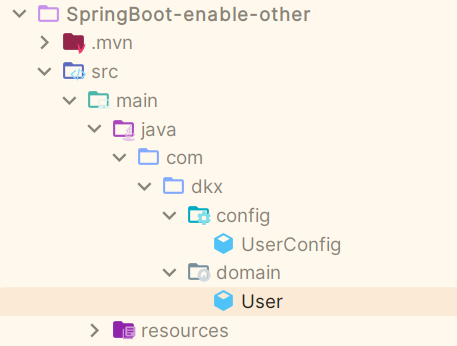
项目结构:
运行结果:
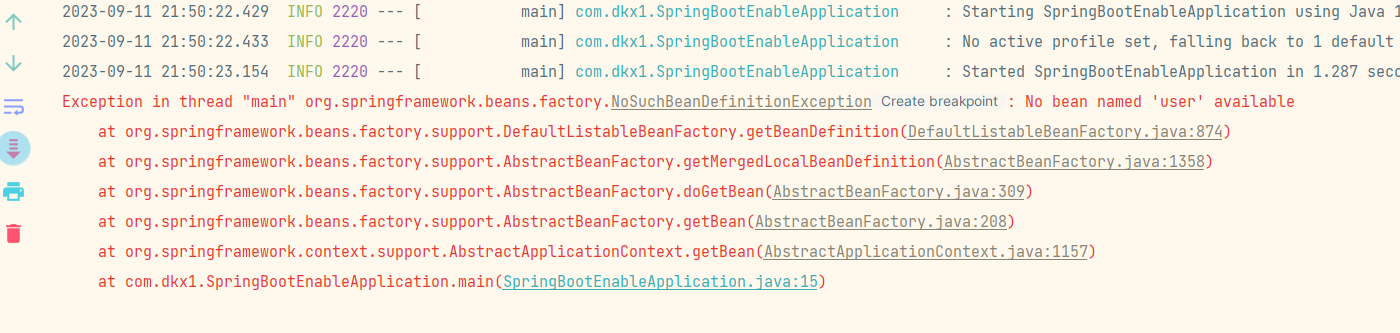
# 第一种方式
报错找不到 user 这个 Bean,我们可以通过下面的方式来解决。
首先要知道这个问题其实很简单,规则是子模块中路面相同的话就不会报错了,可以理解为两个模块可以看做一个模块的目录来构建就不会报错了。
import com.dkx.config.UserConfig; | |
import org.springframework.boot.SpringApplication; | |
import org.springframework.boot.autoconfigure.SpringBootApplication; | |
import org.springframework.context.ConfigurableApplicationContext; | |
import org.springframework.context.annotation.ComponentScan; | |
import org.springframework.context.annotation.Import; | |
// @ComponentScan 扫描范围:当前引导类所在包及其子包 | |
// com/dkx1 | |
// com/dkx | |
// 1. 使用 @ComponentScan 扫描,com.dkx. 包 | |
// 2. 可以使用 @Impoert 注解,加载类 | |
@SpringBootApplication | |
@ComponentScan("com.dkx.config") | |
//@Import(UserConfig.class) | |
public class SpringBootEnableApplication { | |
public static void main(String[] args) { | |
ConfigurableApplicationContext run = SpringApplication.run(SpringBootEnableApplication.class, args); | |
Object user = run.getBean("user"); | |
System.out.println(user); | |
} | |
} |
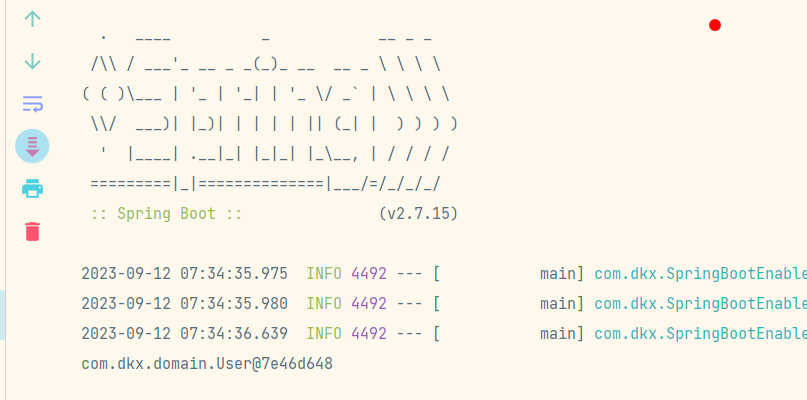
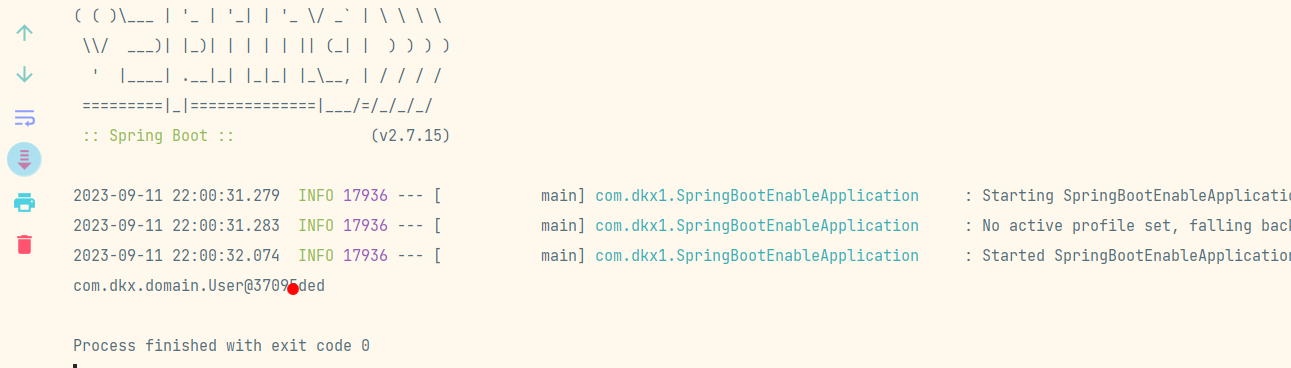
运行结果:
# 第二种方式
使用自定义注解的方式在自定义注解类使用 Import 导入 UserConfig 类然后在启动类中添加该自定义注解 简化获取 User 对象的操作
User
public class User { } |
UserConfig
@Configuration | |
public class UserConfig { | |
@Bean | |
public User user() { | |
return new User(); | |
} | |
} |
EnableUser
@Target(ElementType.TYPE) | |
@Retention(RetentionPolicy.RUNTIME) | |
@Documented | |
@Import(UserConfig.class) | |
public @interface EnableUser { | |
} |
启动类
// @ComponentScan 扫描范围:当前引导类所在包及其子包 | |
// com/dkx1 | |
// com/dkx | |
// 两个路径同级路径项目可以被扫描到 | |
@SpringBootApplication | |
// 简化操作 | |
@EnableUser | |
public class SpringBootEnableApplication { | |
public static void main(String[] args) { | |
ConfigurableApplicationContext run = SpringApplication.run(SpringBootEnableApplication.class, args); | |
Object user = run.getBean("user"); | |
System.out.println(user); | |
} | |
} |
运行结果:

# 第三种方式
还可以更下目录来解决问题
目录结构:
启动类代码:
import org.springframework.boot.SpringApplication; | |
import org.springframework.boot.autoconfigure.SpringBootApplication; | |
import org.springframework.context.ConfigurableApplicationContext; | |
import org.springframework.context.annotation.ComponentScan; | |
// @ComponentScan 扫描范围:当前引导类所在包及其子包 | |
// com/dkx | |
// com/dkx | |
// 两个路径同级路径项目可以被扫描到 | |
@SpringBootApplication | |
public class SpringBootEnableApplication { | |
public static void main(String[] args) { | |
ConfigurableApplicationContext run = SpringApplication.run(SpringBootEnableApplication.class, args); | |
Object user = run.getBean("user"); | |
System.out.println(user); | |
} | |
} |
运行结果: